Promotions
Timely specials on premium photo planners, journals, and calendars.
How it works
Design one planner, share it with your family, team or group, and let everyone make it their own. Each person personalizes and orders their own copy — your original stays just as you made it.
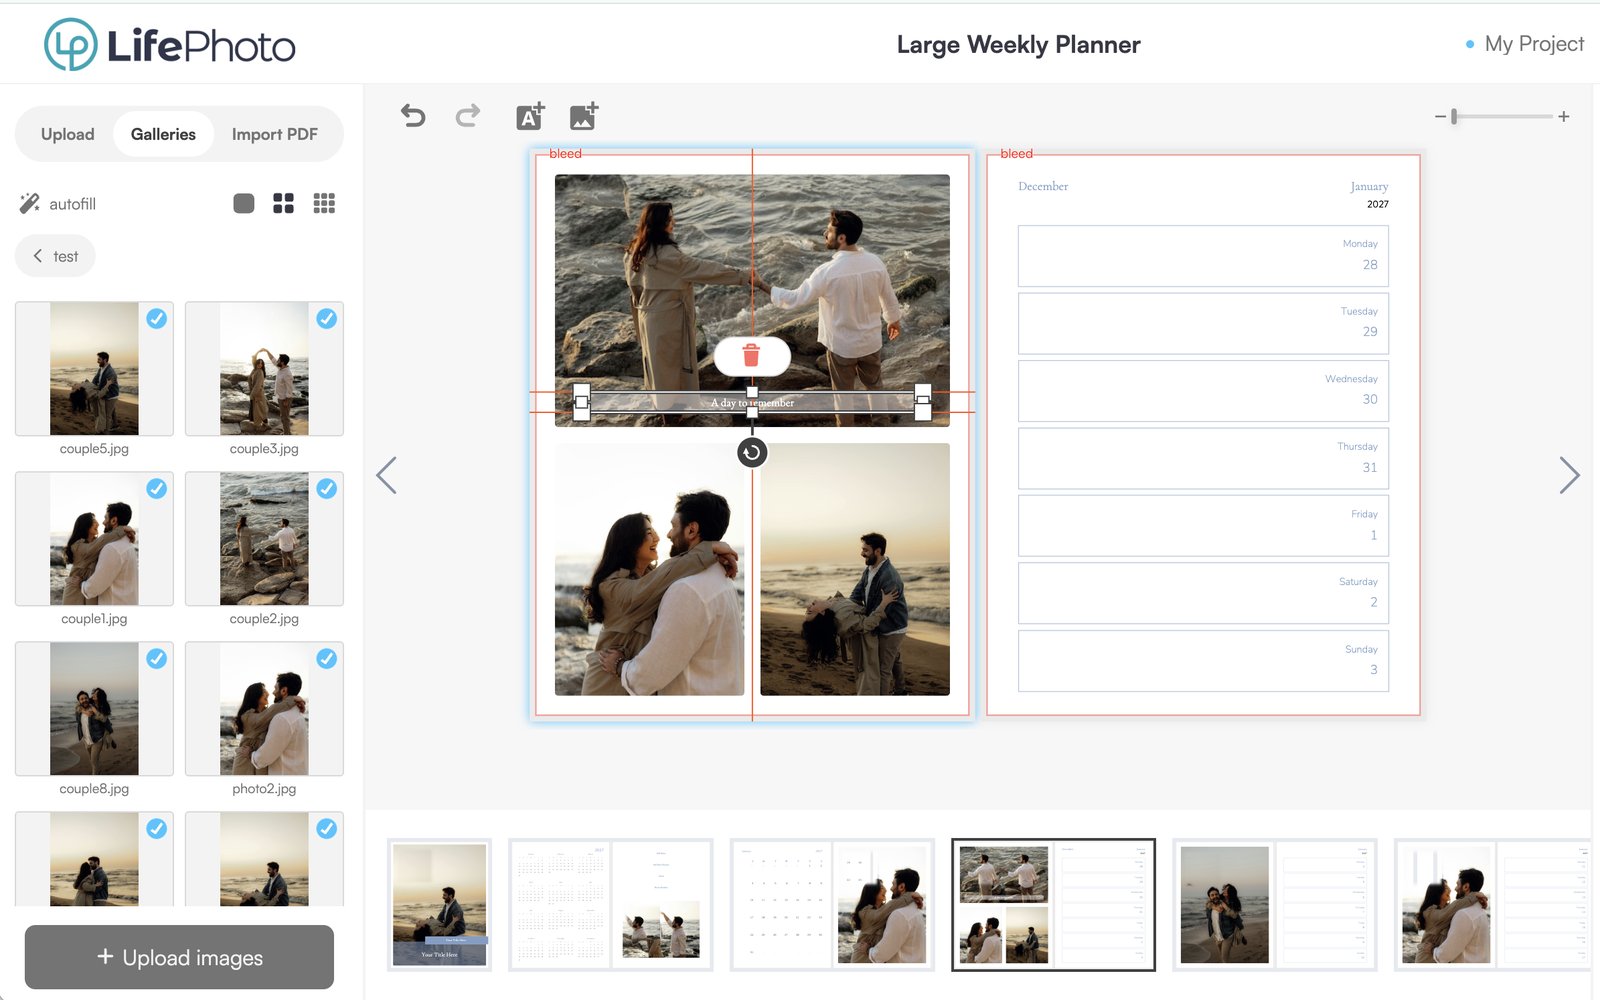
Choose a planner and set it up for your group: the cover, layouts and any shared dates like games, school events or family occasions.
Shop planners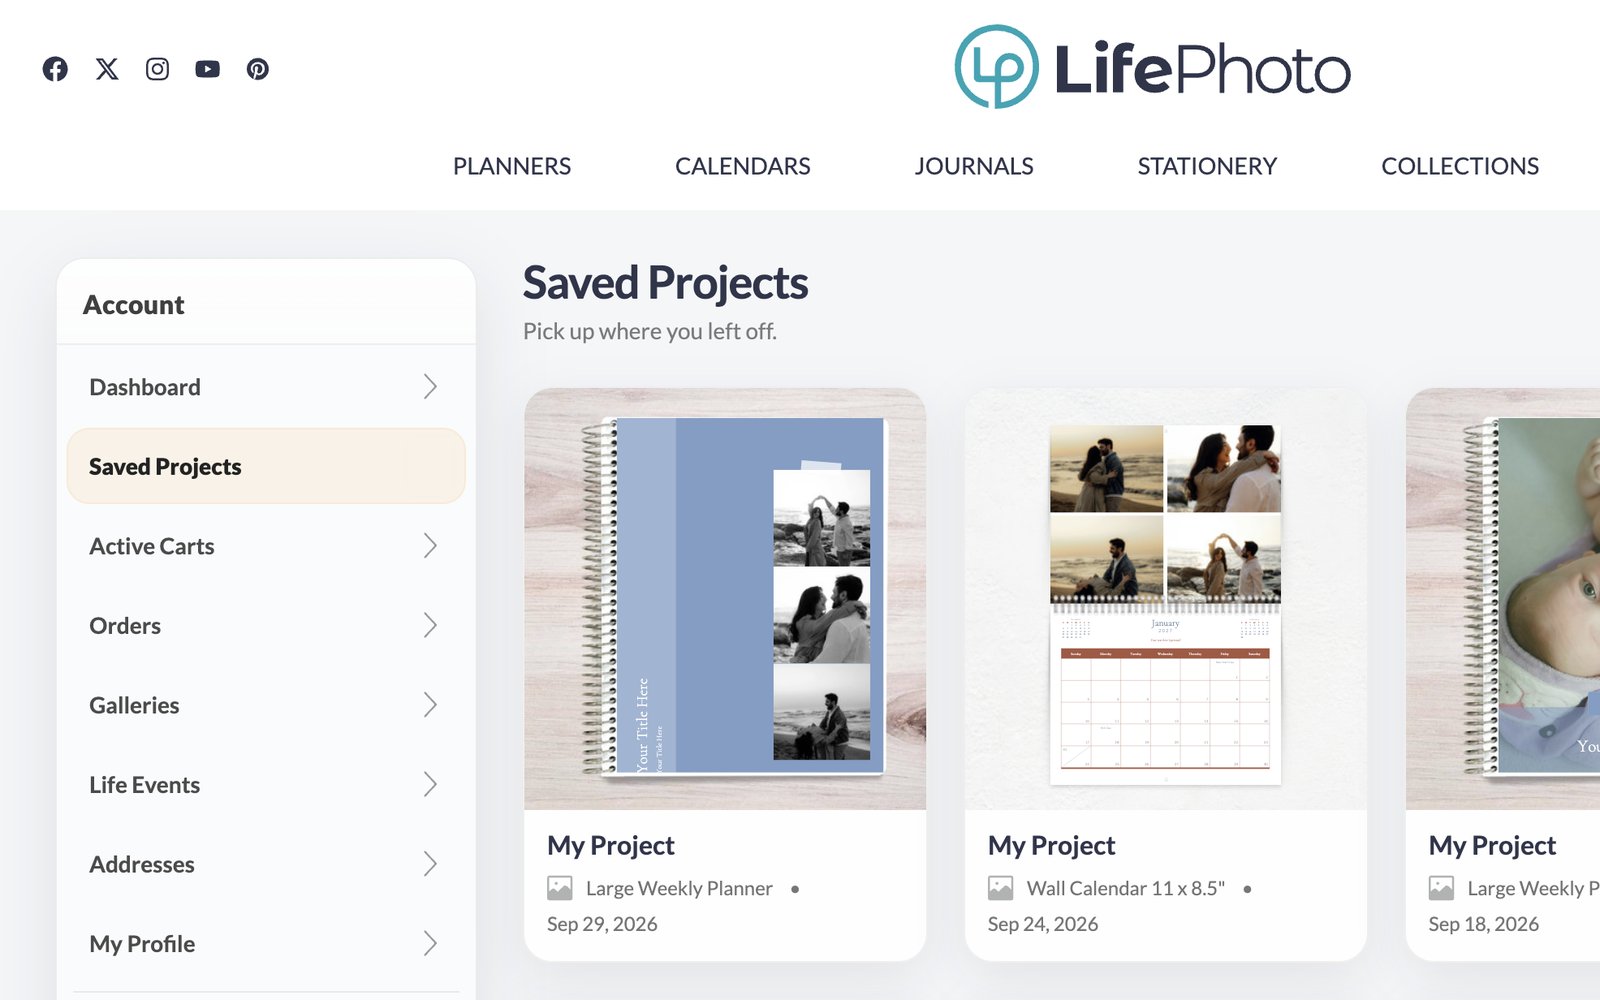
Save your project. You will find it in My Account → Saved Projects.
Go to saved projects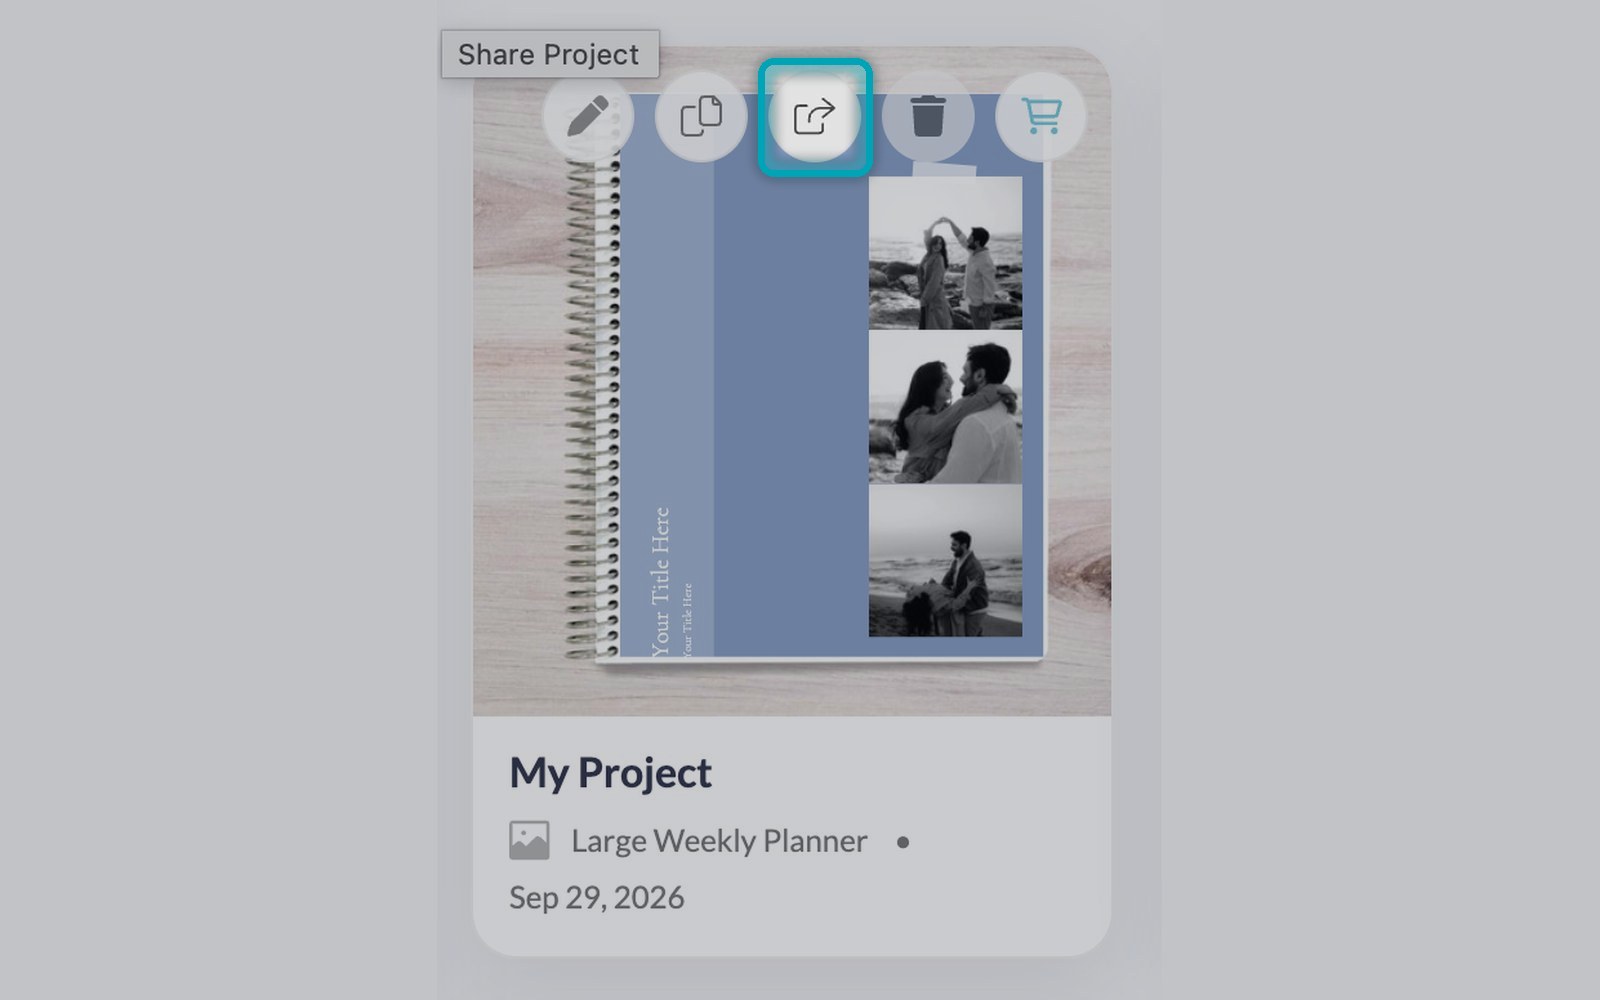
Hover over your project and click the share icon. The link is copied — send it by email, text or group chat.
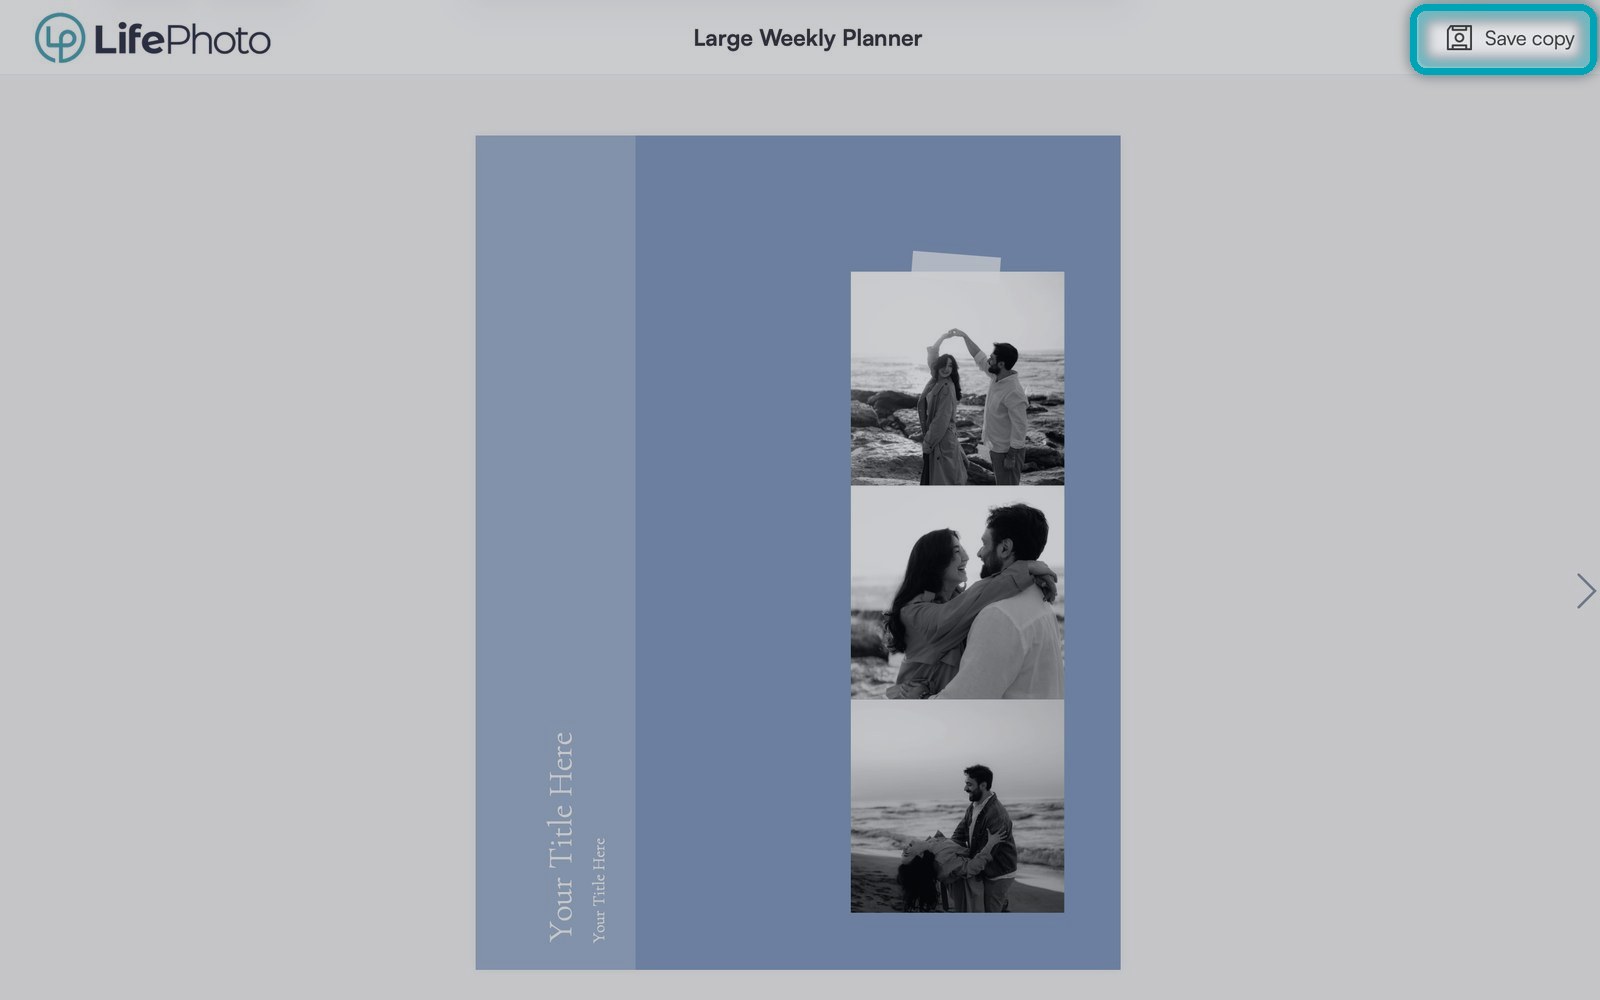
When someone opens your link, they sign in or register and save their own copy of the planner to their account.
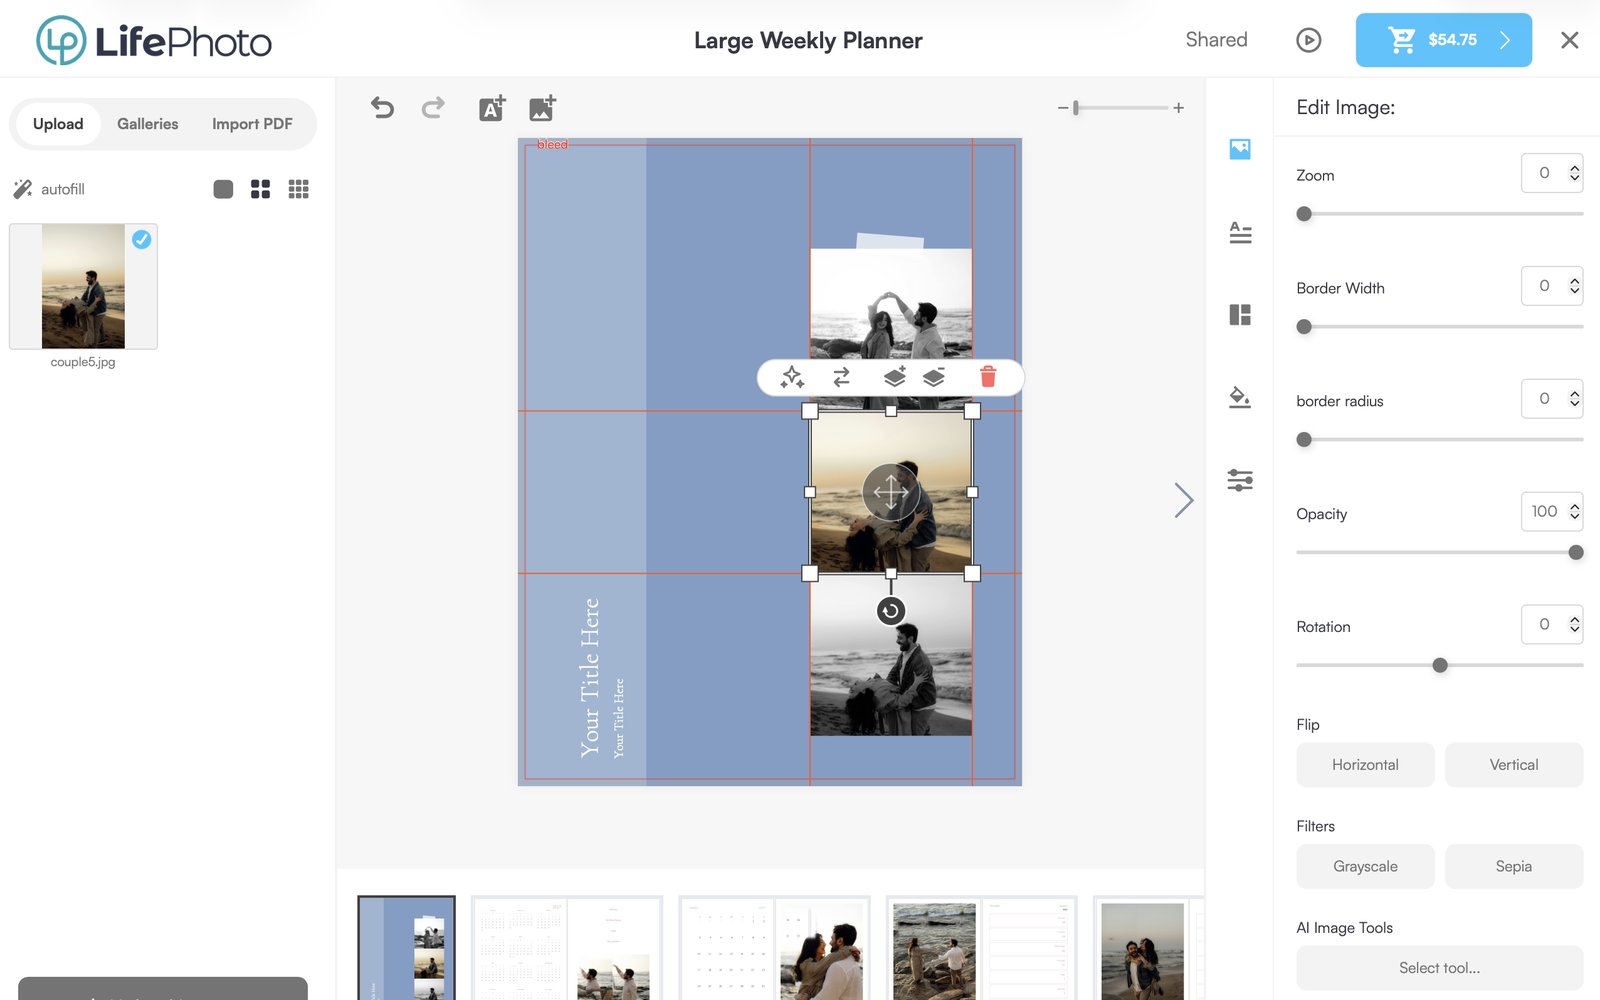
Each person adds their own photos, captions and life events. Their changes stay in their copy — your original is never touched.
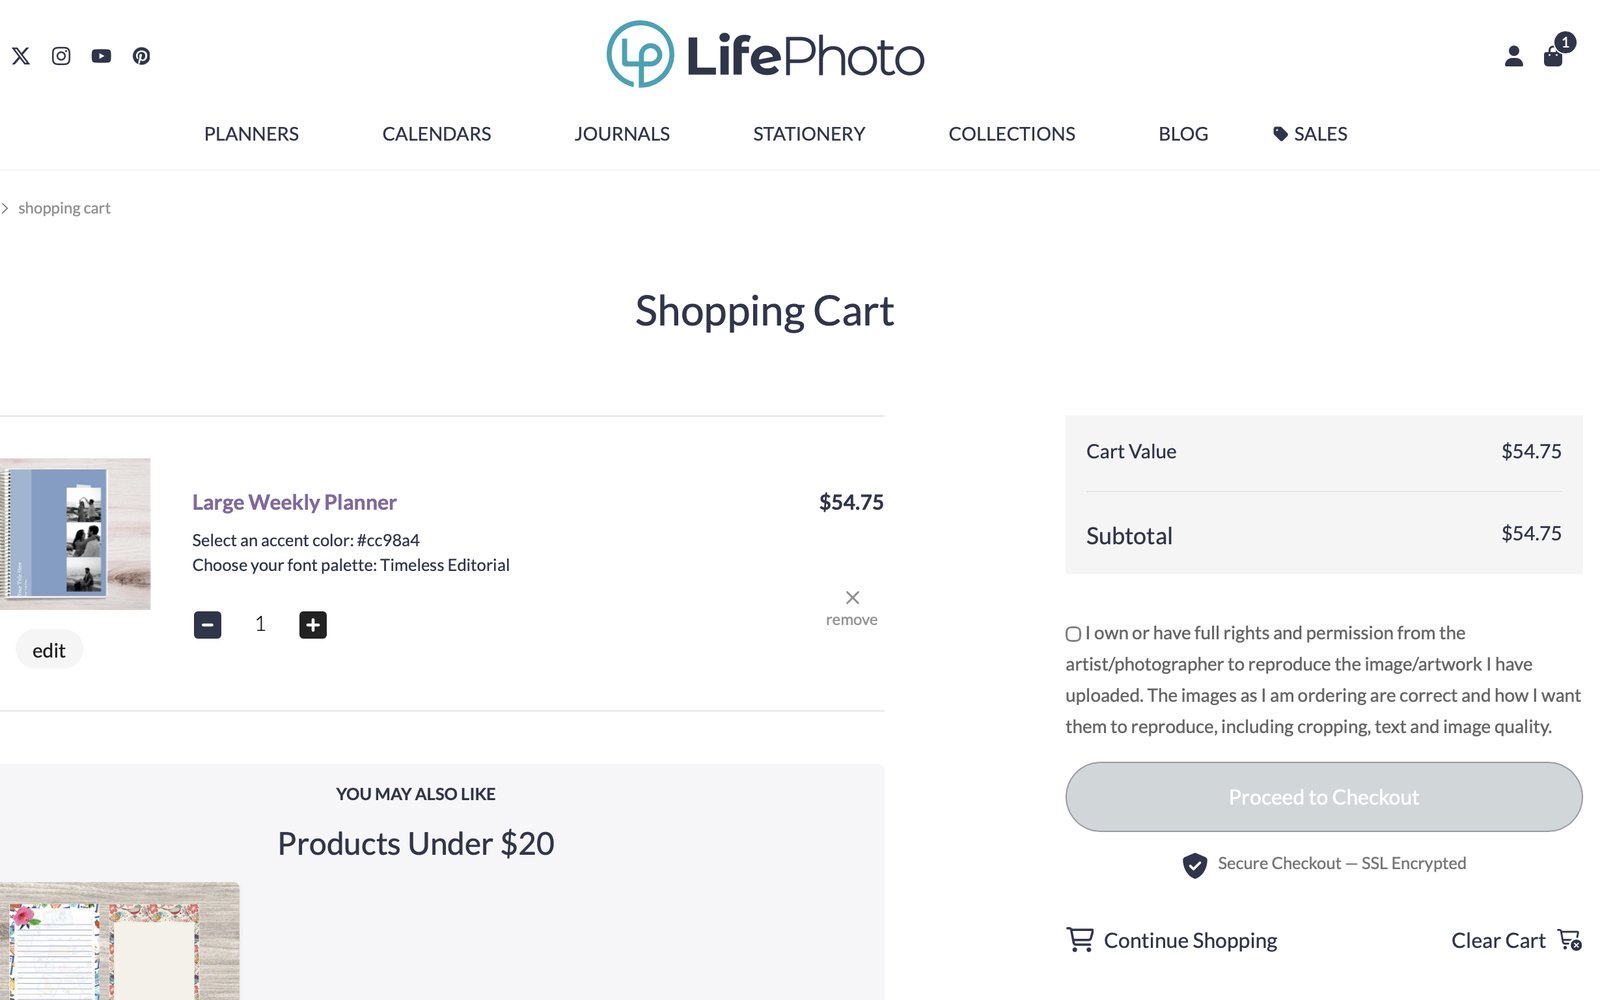
When they are happy with their version, they add it to their cart and order — no need to collect payments or orders yourself.
Perfect for groups
Families, teams, clubs, classrooms and community groups.
Design once
Set up the planner once and share one simple link.
Personal for everyone
Same planner, different photos — every copy is unique.