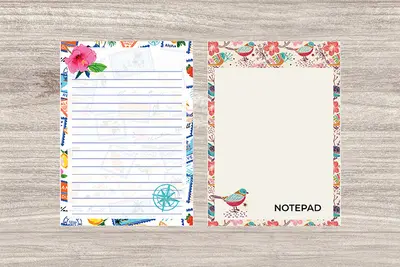
Promotions
Timely specials on premium photo planners, journals, and calendars.
How it works
Put your photos in a gallery once, then let Auto Fill place them across your whole planner. A complete 52-week planner in about 30 seconds.

Create a free account so your galleries and projects are saved and you can come back anytime.
Register now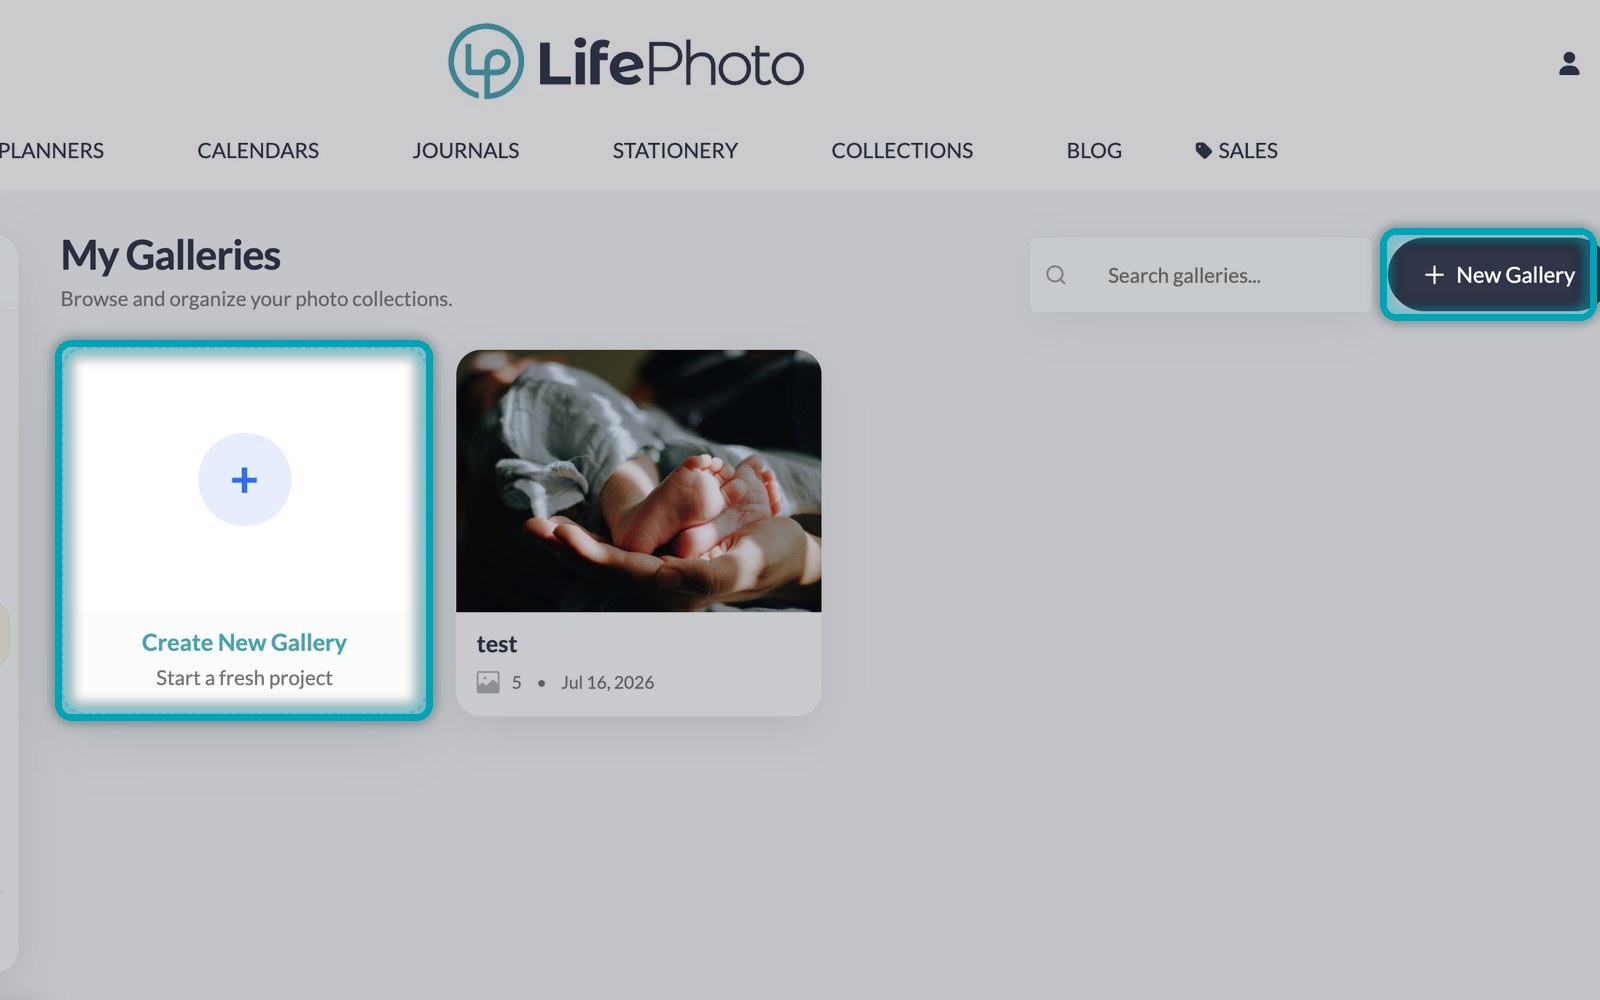
Go to My Account → Galleries and click New Gallery. Name it after your year, your family or a trip.
Go to my galleries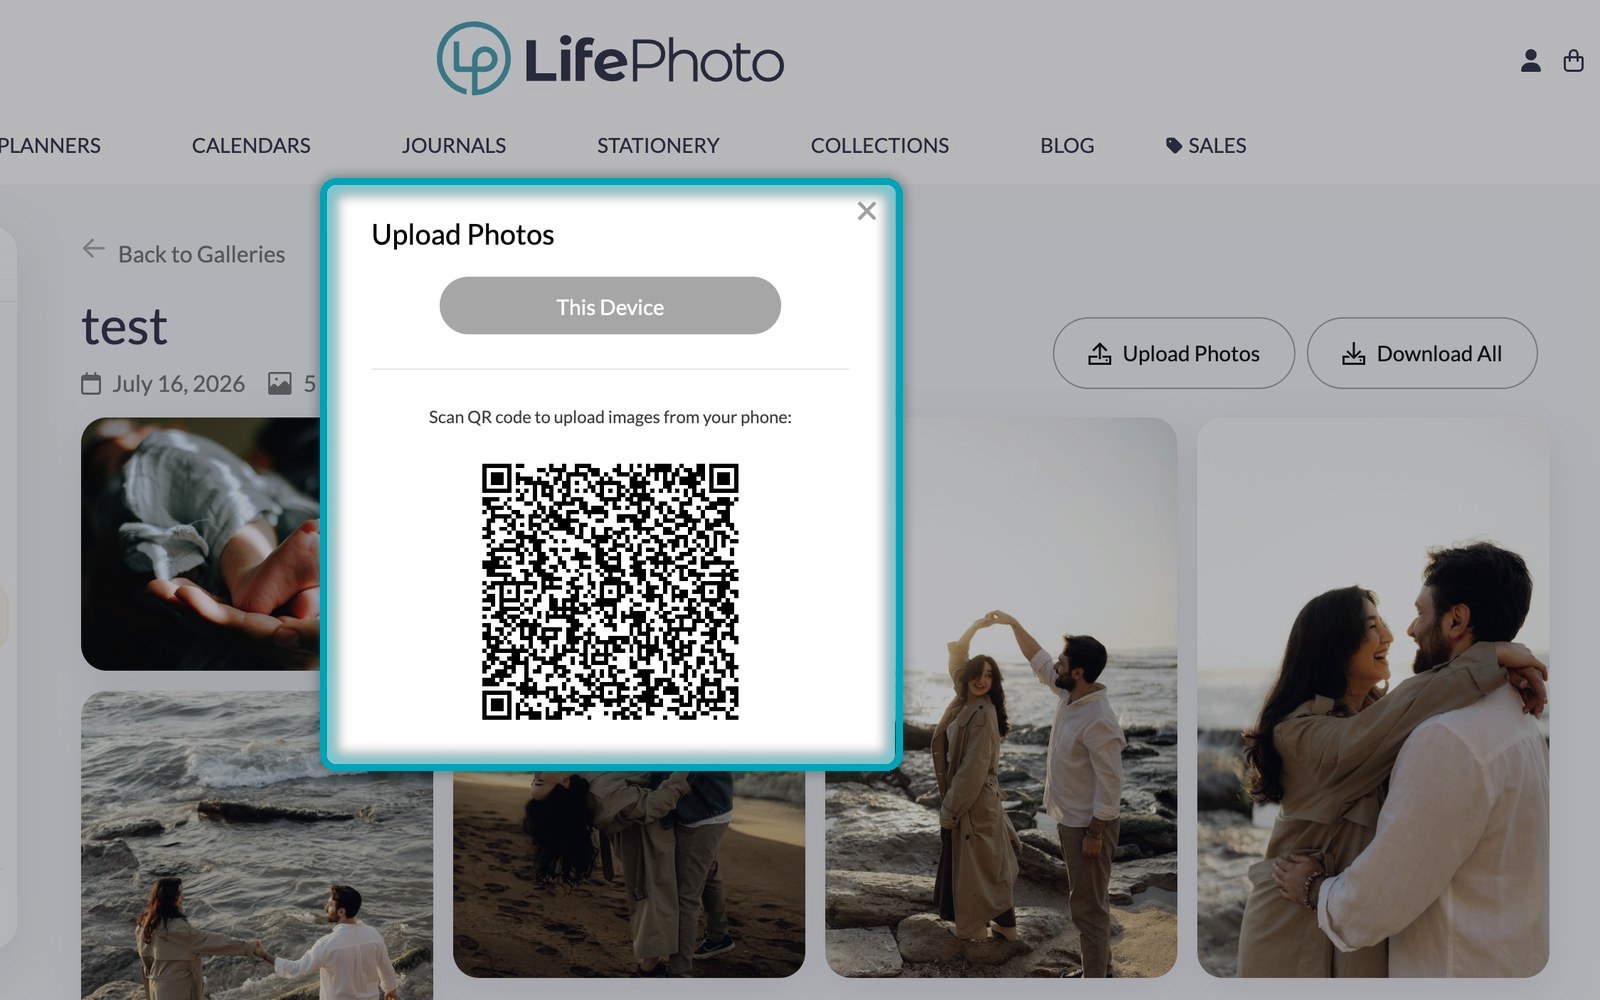
Drag and drop photos from your computer, or scan the QR code to upload from your phone. Around 52 or more fills a weekly planner.
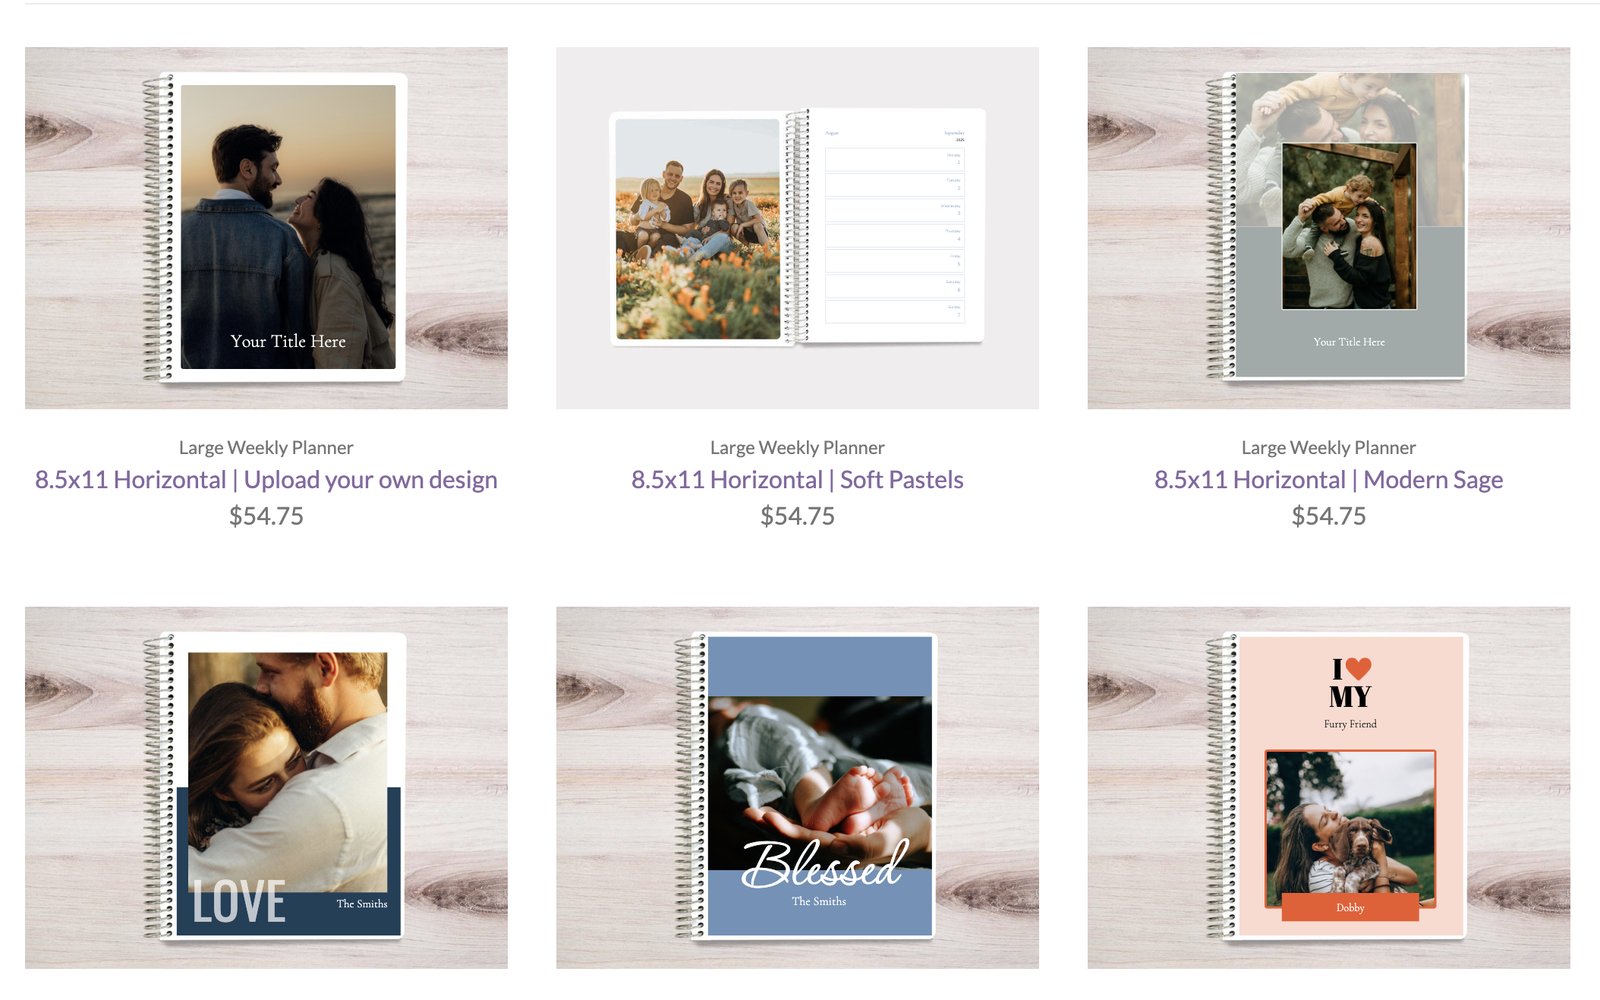
Pick your planner size and a cover design, then click Design Now to open the editor.
Shop planners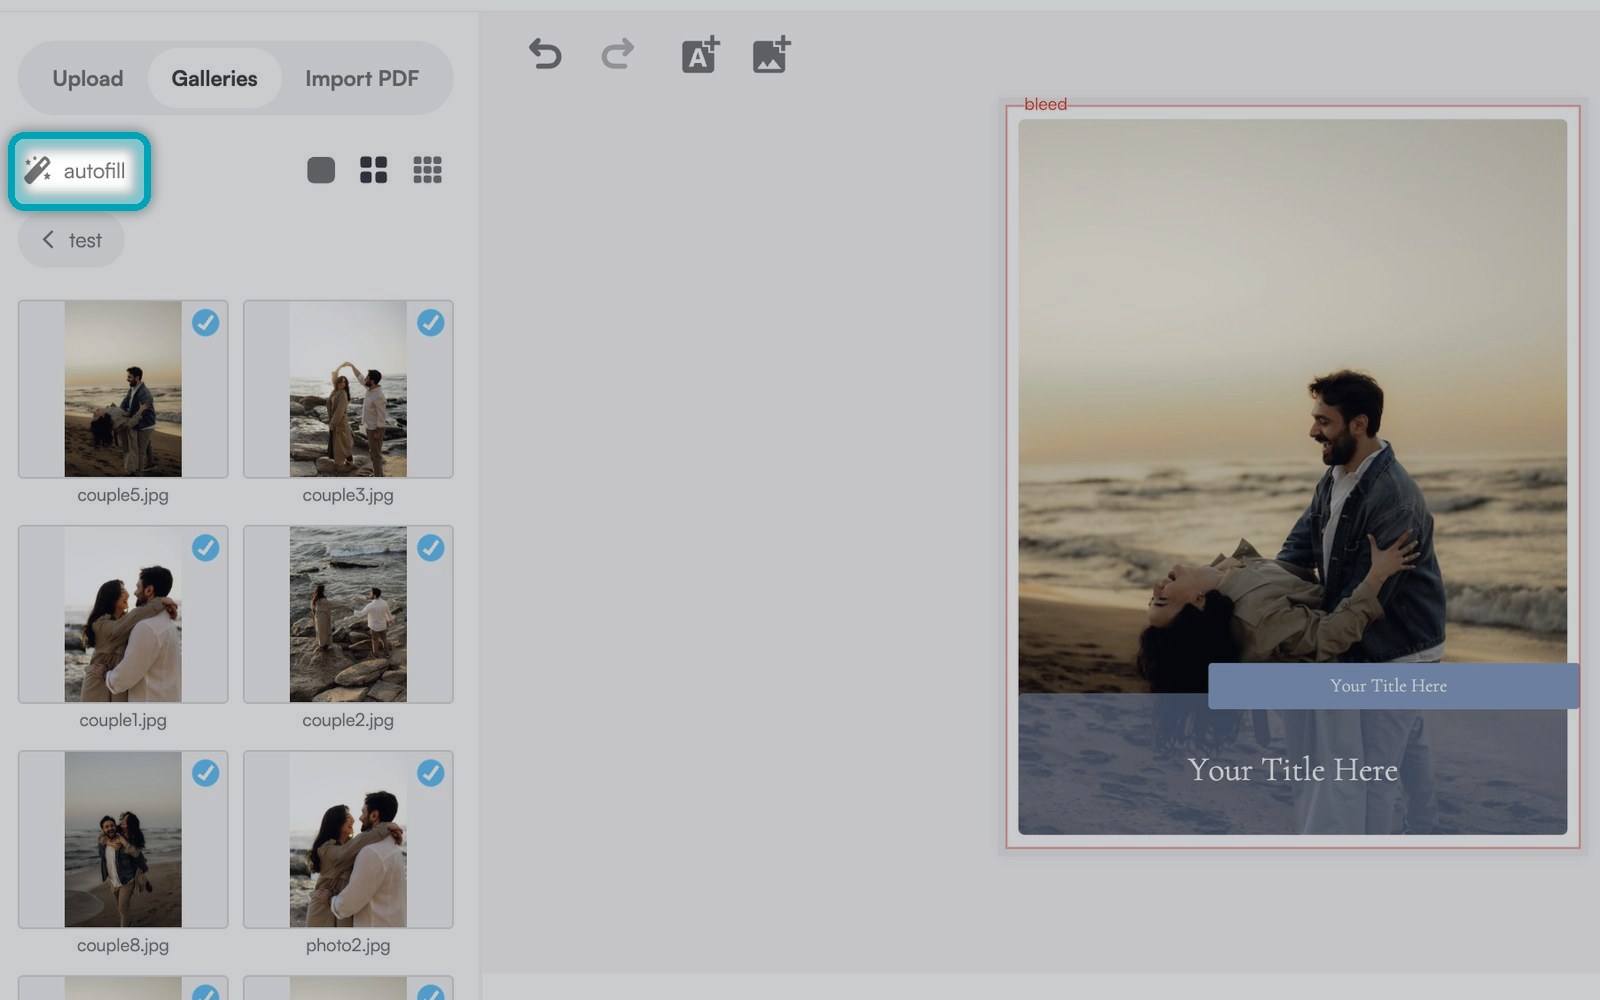
In the editor, open the Galleries tab, select your gallery and click Auto Fill. Your photos are placed across your planner pages automatically.
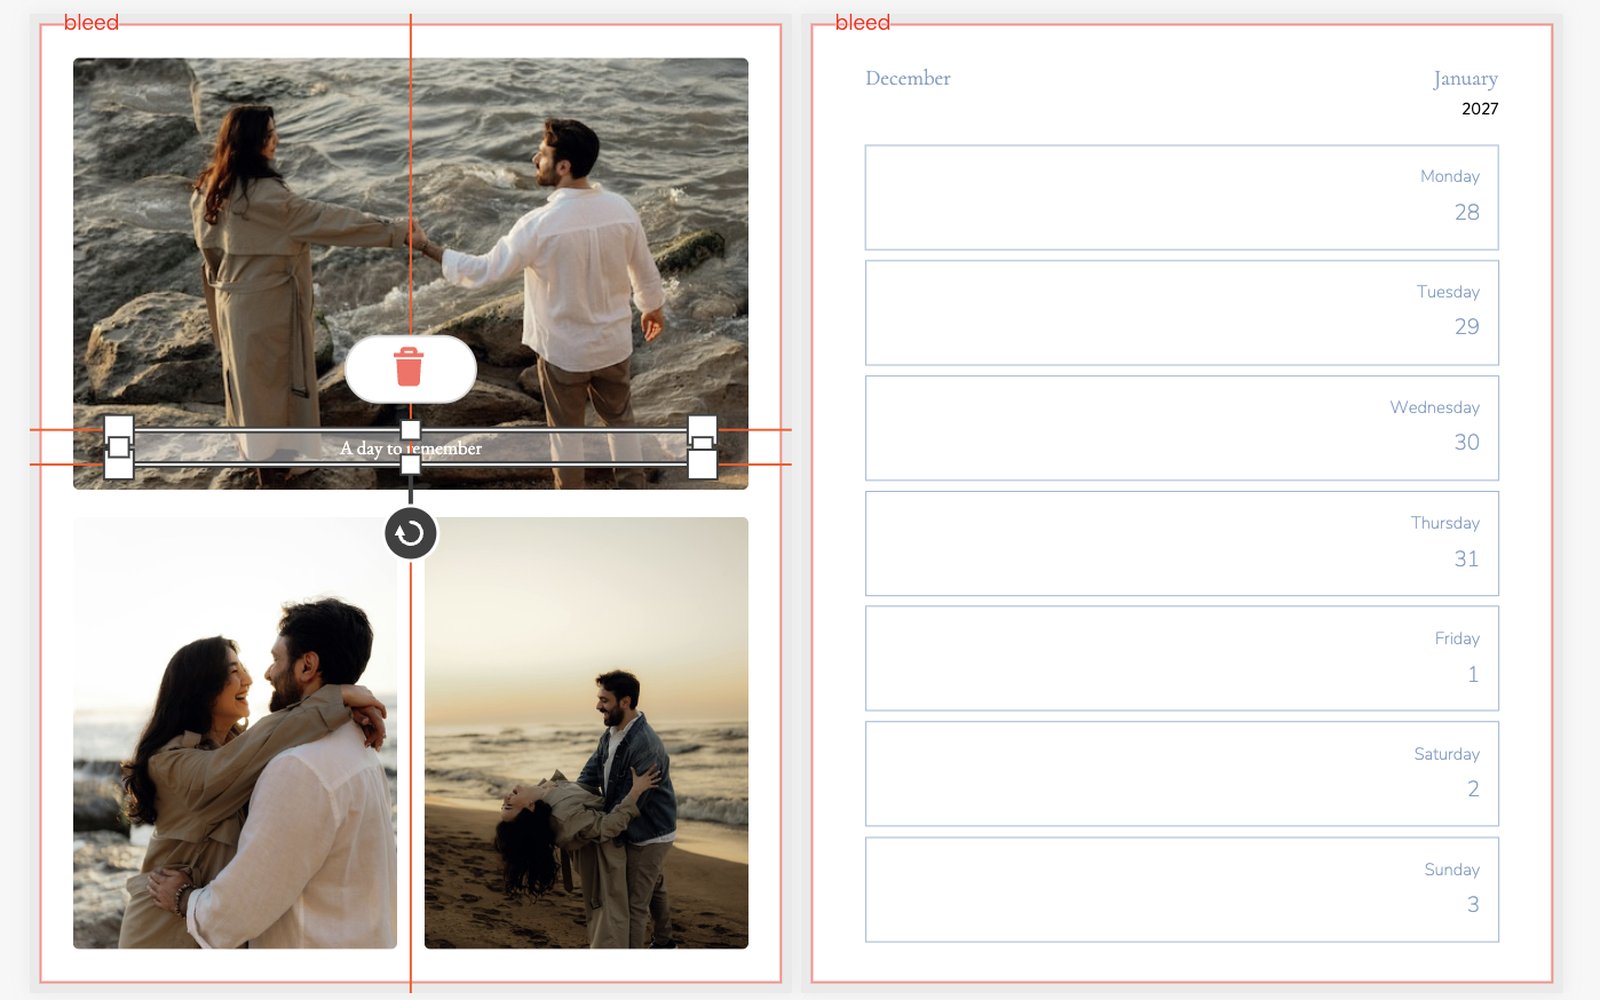
Swap photos, add captions and adjust any page you like. When you are happy, add it to your cart.
About 30 seconds
A complete 52-week planner, filled with your photos.
One gallery, every project
Reuse the same gallery for planners, calendars and journals.
Full control
Auto Fill gives you a head start — every page stays editable.